The ReadyDoc
integration with Advisors Assistant allows for viewing of client documents and
capturing new client documents from within the familiar confines of the Advisors Assistant CRM.
No Desktop application software is required for Viewing or Capturing
documents, but users with high scan volumes may still opt to install our ReadyCapture
desktop application to take advantage of some of its features.
Integration
Setup
With a valid
ReadyDoc account on our platform at https://app.readydoc.com, the integration with Advisors Assistant CRM is a free add-on, and can be
activated using the following steps:
1. From the Advisors Assistant menu, select Admin, System Preferences
2. Select the Document Storage tab.
3. Provide your ReadyDoc Client ID and copy and paste the ReadyDoc Service URL and ReadyDoc API URL values shown below:
4. Click OK to save these values. Please have all users log out of Advisors Assistant and log back in and the change will apply to all users. If you will only be viewing documents in ReadyDoc from Advisors Assistant that is all that is needed. If you will be capturing documents into ReadyDoc through Advisors Assistant there is one additional step
5. For Capturing Documents:
A. In Advisors Assistant select File, User Preferences:
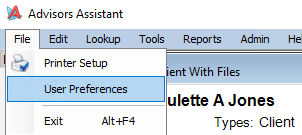
B. Select the Other Passwords tab and provide your ReadyDoc User Name and password:
Click OK to save the changes.
Viewing Documents
To view an existing document in ReadyDoc from Advisors Assistant, locate a contact and click the Files tab for the list of documents in ReadyDoc. Then double-click on a document in the list:
When viewing documents in ReadyDoc from Advisors Assistant, a valid login session to ReadyDoc is required. With this in mind, you might receive a login prompt when executing the View Document request. After providing these values you will not be prompted in subsequent requests as long as there is a valid ReadyDoc session. ReadyDoc sessions last 30 minutes from the time of last activity, or until the Logout option is selected from the ReadyDoc Cloud application.
NOTE: If you are getting prompted for a login every time, even within the 30 minutes timeframe, you might need to adjust the browser cookie preferences - see here.
The document will then be shown in the ReadyDoc document viewer window. The most common
options are noted below.
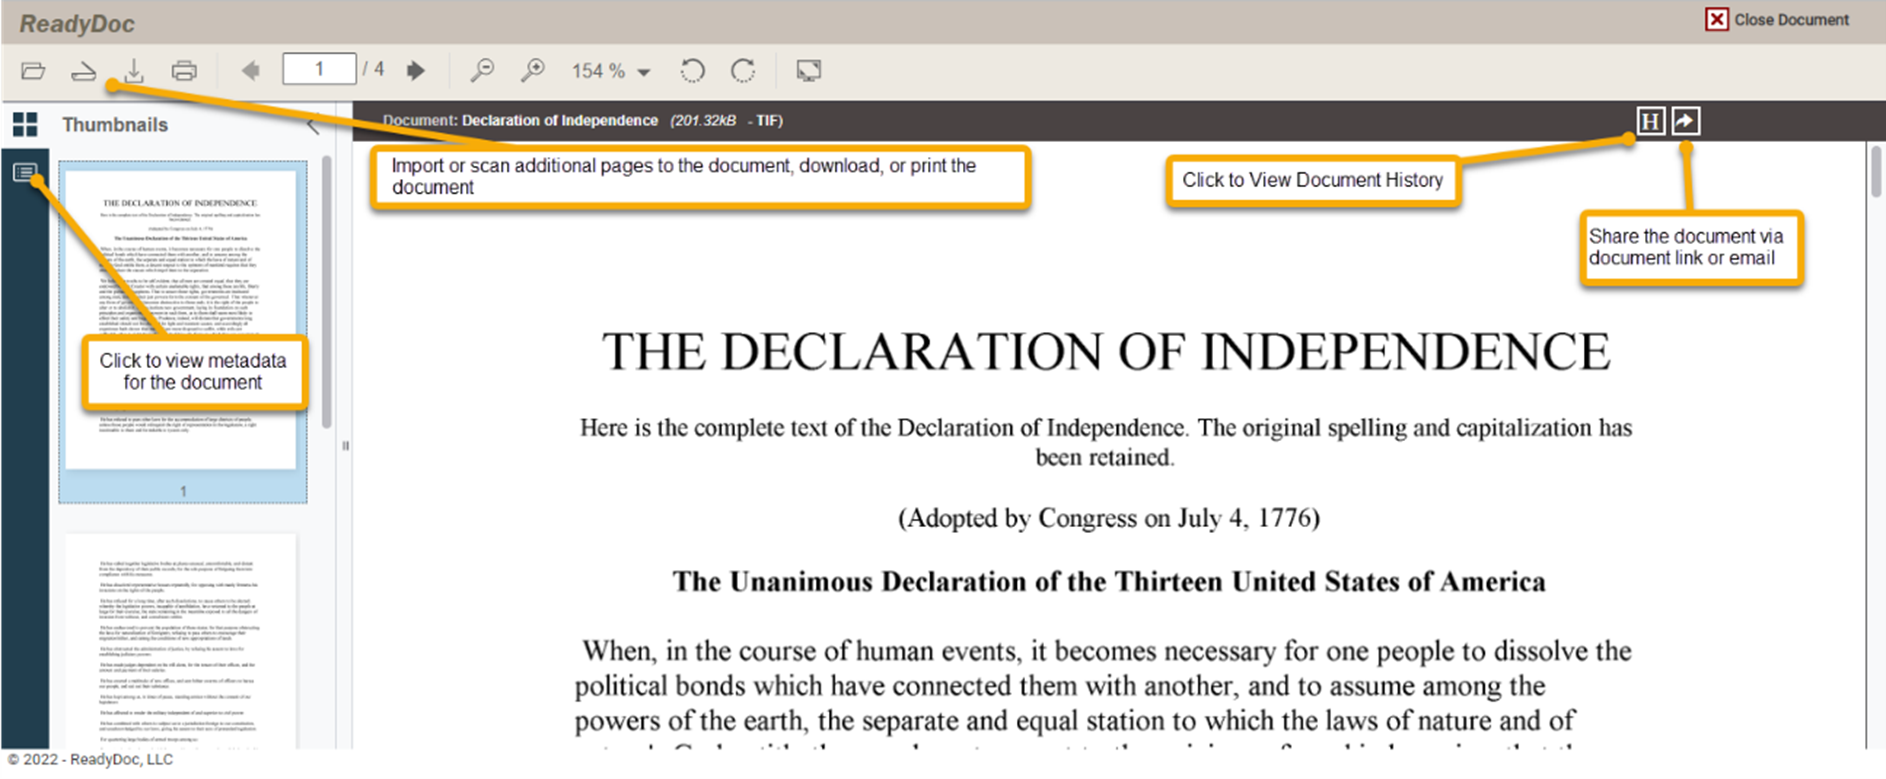
To close out of a document click the "Close Document" button on the upper right, or click the "X" on the tab of the web browser.
Capturing Documents
The instructions below detail the process of capturing documents into ReadyDoc from an Advisors Assistant contact. There is also an option to drill down into an Insurance Policy or Investment account under an Advisors Assistant contact. The process for Capture is the same - the only difference is that when drilled down into a Policy or Investment record, the Policy or Investment account information will also be populated into ReadyDoc for the given document(s).
1. From an Advisors Assistant contact record, select the Files tab at the bottom, then click "Add"
2. After clicking "Add" or "Scan" the Advisors Assistant window will display a popup message with an OK button. It is very important that you do not click OK to close this window until after you have finished capturing documents for the current contact, whether you are using Web-based capture or Desktop Capture launched from Advisors Assistant.
3. The ReadyDoc Web Capture window will be displayed, as shown below:
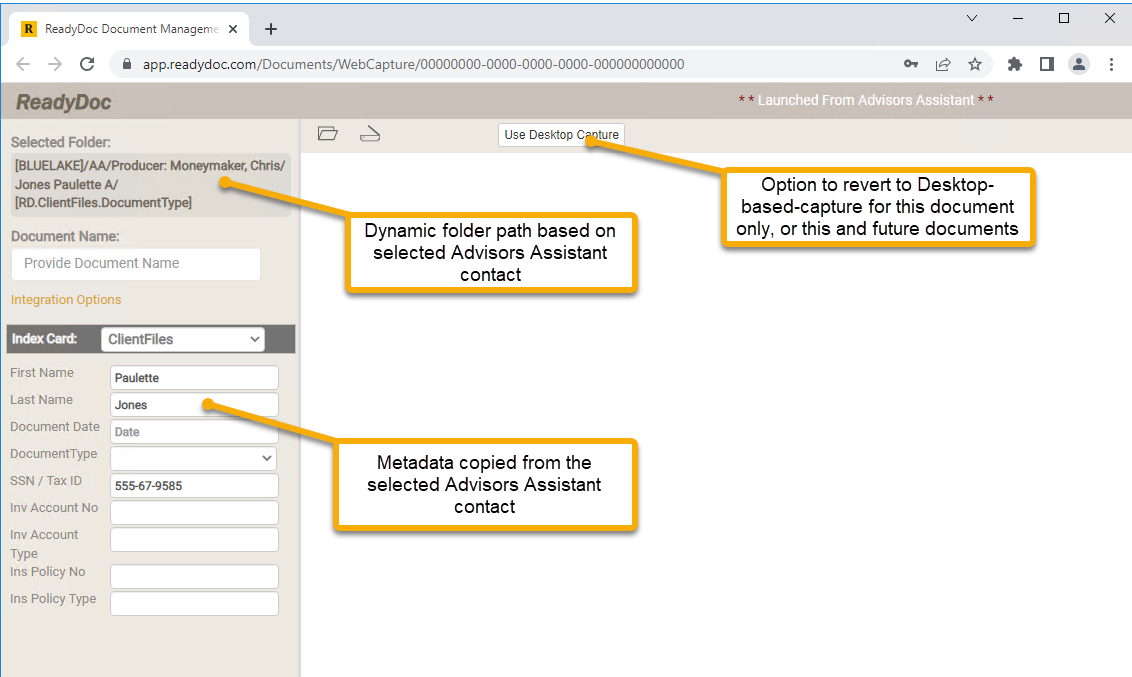
Desktop-based Capture Option: For high-volume capture of documents we also
have a Desktop-based Capture application that can be launched from Advisors Assistant instead of the web-based capture. Please See here for more information.
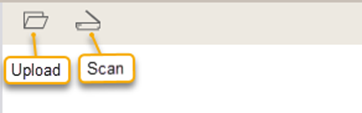
4. To capture a document
click the Upload icon for an existing electronic file, or the Scanner icon if you have a scanner
attached to your workstation.
5. Import or Scan a
document.
5A. To import a document, click the Upload icon and
select the document from your device, then skip to step 4 for additional instructions.
5B. To Scan a document, click the Scan icon and
wait for your scan device to be identified and appear in the Device
window, as shown below. Then click the Acquire button.
Note: The first time the Scan is executed on a given workstation, you will be prompted to download and install a scan component for the web browser. Please click the option as shown below and follow the prompts to install the component.
5C. After
clicking the Acquire button wait for a few moments for your scanner’s Twain
scanning dialog to appear and follow your scanner’s prompts to scan the
document. An Epson scanner is shown below.
6. After scanning or
uploading the document, it will display in the Web Capture Viewer window. Click
the Document Type dropdown to select a document type for the captured document.
The document type is required because it is used to name the subfolder below the
Client folder in ReadyDoc, where the document will be stored.
7. Review and change
the name of the document as applicable. The document name and document type are two fields that will show up in the document list in Advisors Assistant.
When a document is uploaded, it will default to the electronic file name of the document.
When a document is scanned it will have a system-derived name as shown below, which should be changed to something more meaningful.
8. Click the Save icon to save the document. If there are more documents to
be captured for the same Contact name in Advisors Assistant they can be captured using the
same window.
When finished with capturing for the selected Advisors Assistant contact, close the Web Capture window by clicking the "X" on the web browser tab.
9. Returning to the Advisors Assistant Contact window,
Click OK:
Click OK again to confirm the count of documents added:
And finally. click the Refresh button on the far right
The new document(s) will now be displayed as links in Advisors Assistant: